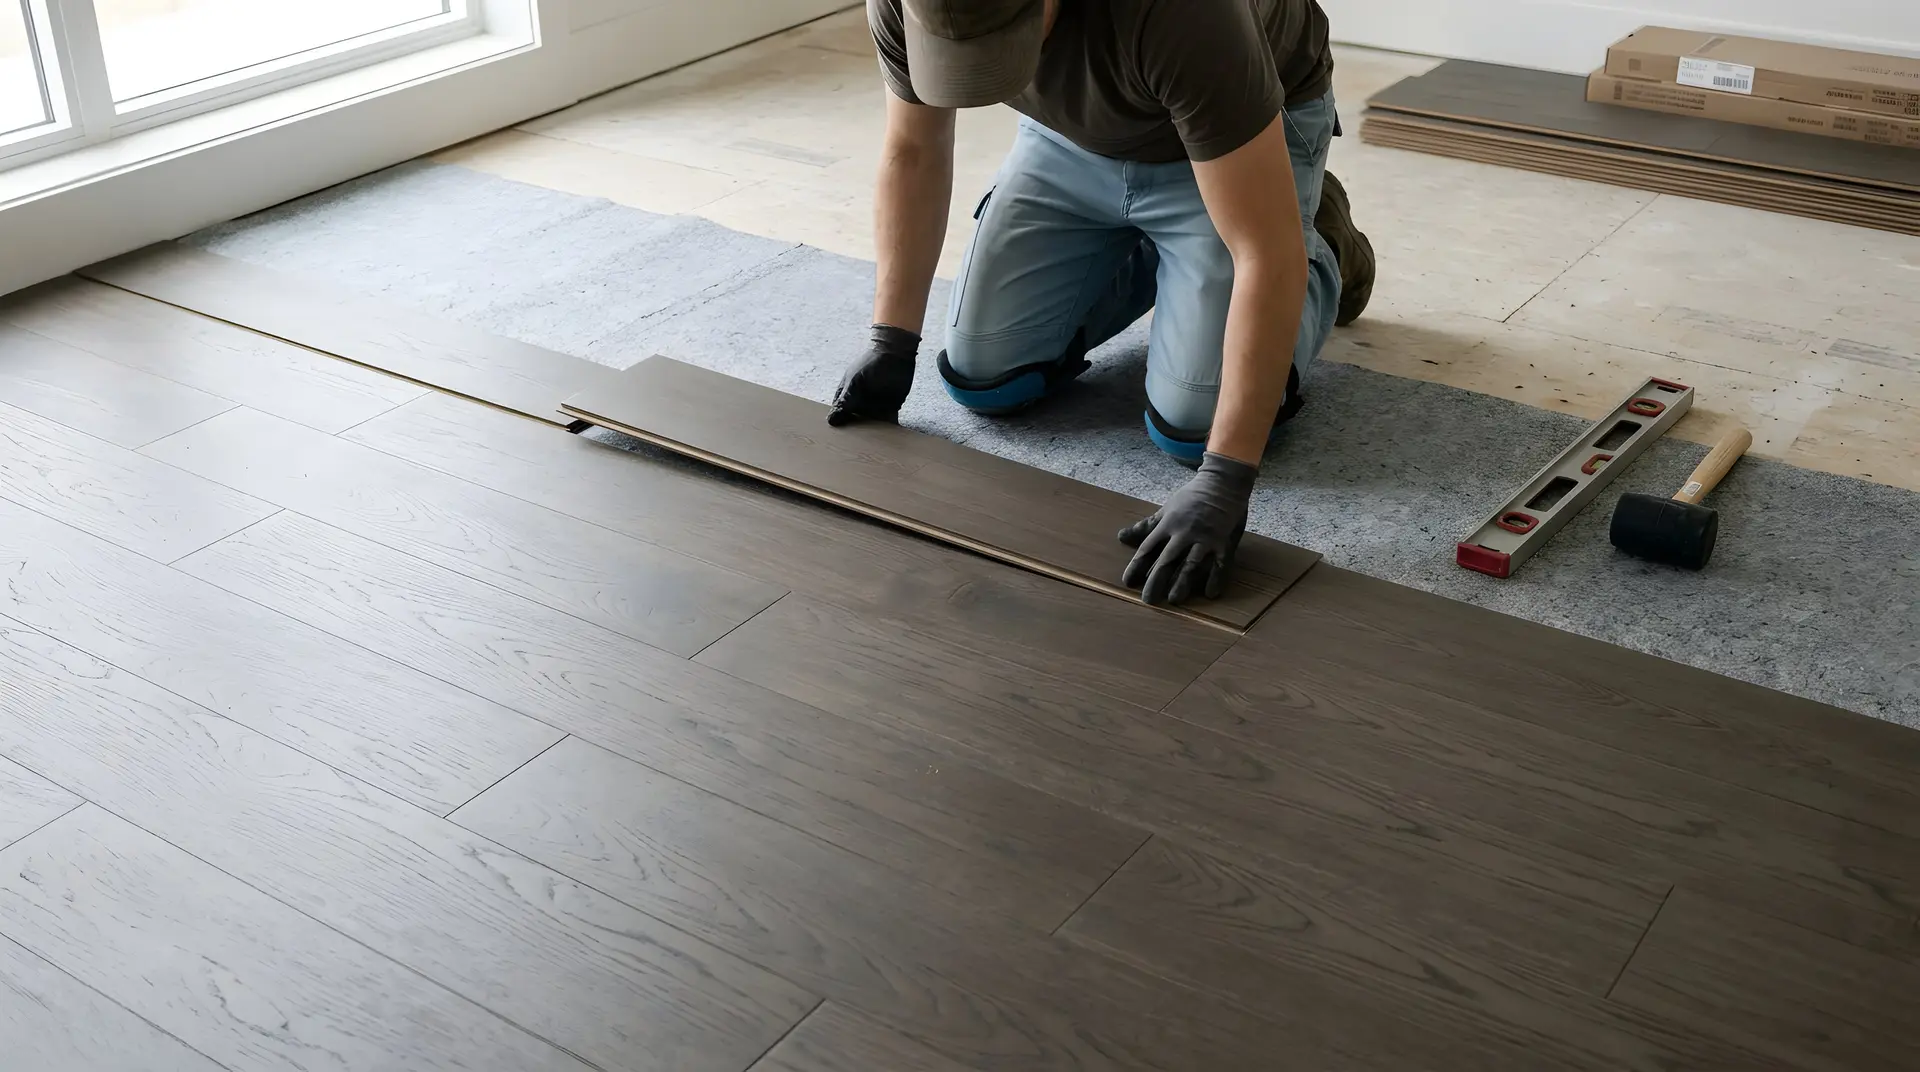
How it works
From first question to final walk-through.

Step 1 · Online
Get your estimate
Answer a few quick questions about your space. You'll see a clear price range in about two minutes, without visiting the showroom or talking to a salesperson.
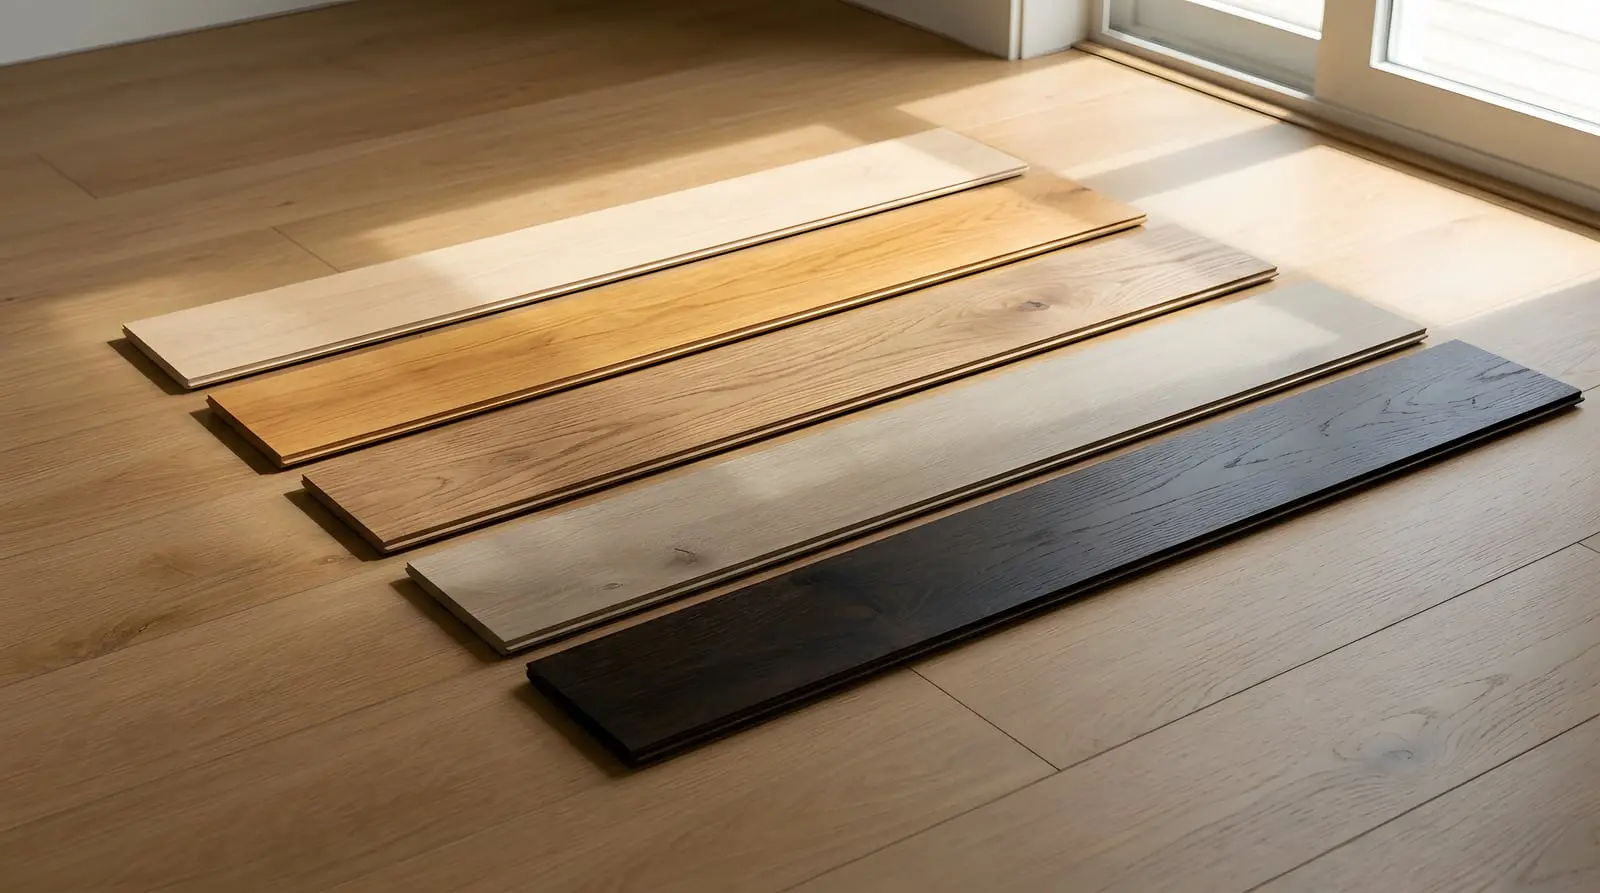
Step 2 · Selection
Choose your floor
We narrow the catalogue to the floors that suit your home and your budget: in a condo, the ones your building allows; in a house, the ones that suit your subfloor and rooms. You see and feel those samples at the showroom before you decide.

Step 3 · Compliance
We check the building, or the house
In a condo we confirm the acoustic rule and the board approval before anything is ordered, and prepare the paperwork your building wants to see. In a house there is no board to satisfy, so we check the subfloor and the rooms at the measurement instead.
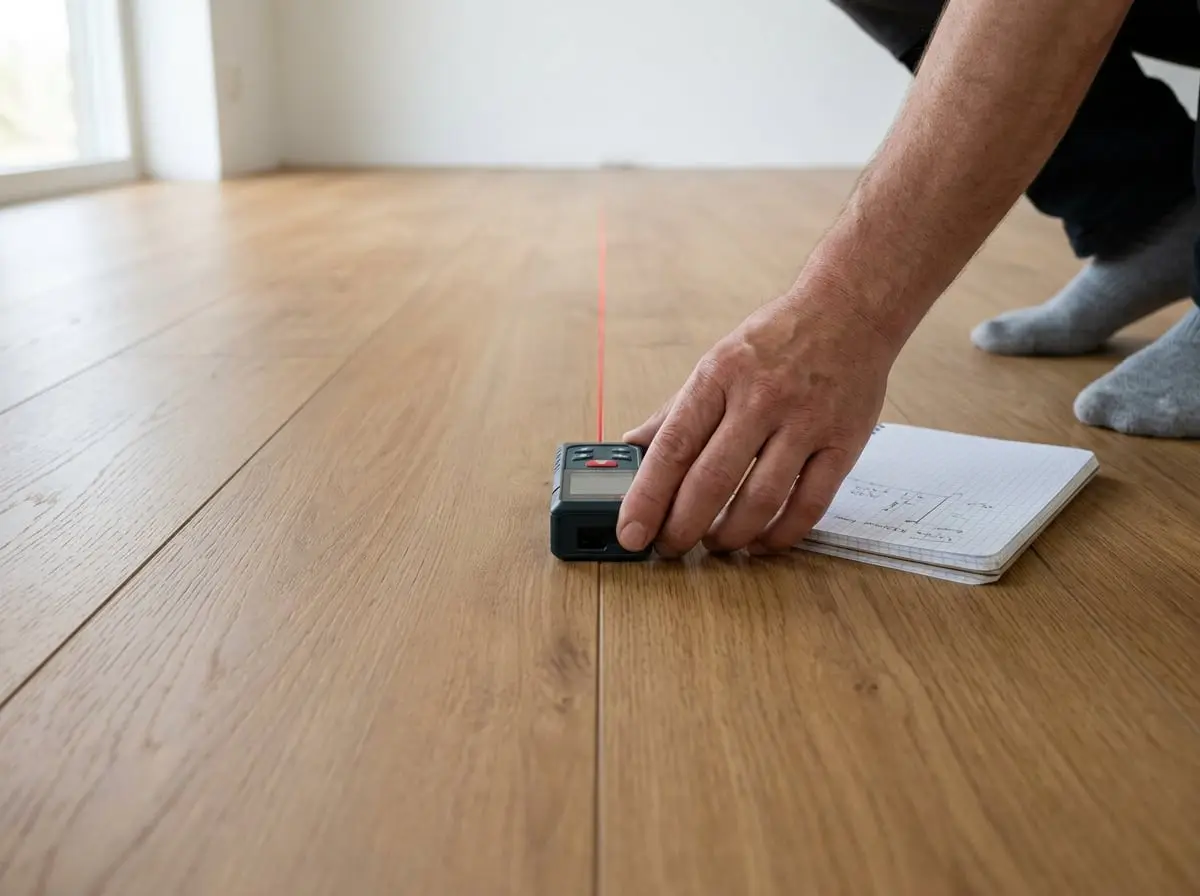
Step 4 · On site
Measure & final quote
A free professional measurement turns your range into a firm price, with cutting waste included. Anything found under the old floor is priced separately, and only added with your written OK.

Step 5 · Confirmed
Approve & deposit
You approve the quote and choose how to pay: half now and the balance when the work is finished, or the whole amount now. Once the deposit clears we order your material and lock in your installation date. We confirm material lead time with your quote; many condo buildings pause renovations over the December holidays, so plan around that.
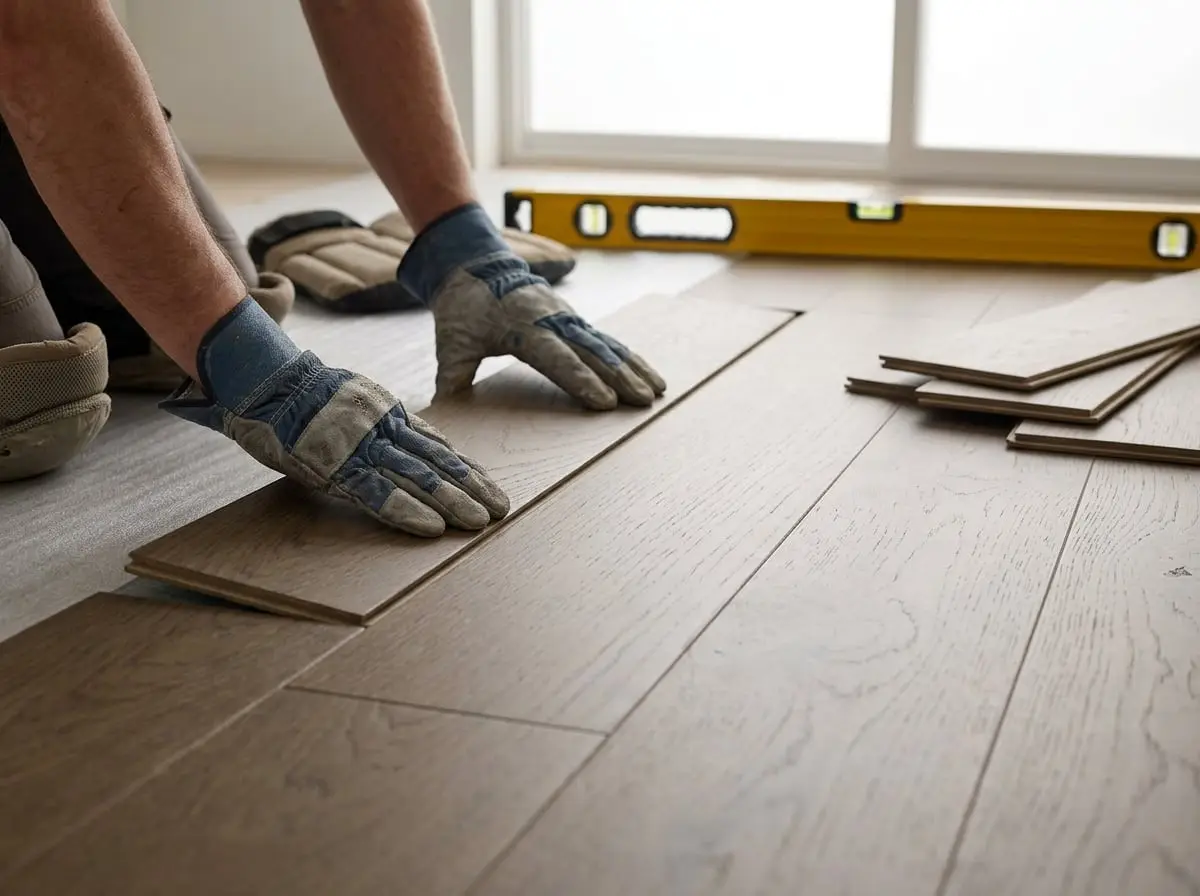
Step 6 · Install day
Installation
An installer whose liability insurance and WSIB clearance we have checked does the work on the booked date. In a condo we work to the building's permitted hours and your elevator booking; in a house we agree the start time with you. Either way you have one point of contact.
Step 7 · Done
Walk-through & warranty
We walk the finished floor together, and you pay the balance when you're happy. For seven days after the installation finishes, tell us about anything at all and we come back to look at it.